Leaping Arches Build and Testing MorganLights.com
Here I will discuss how we build our Arches (AKA Leaping Arches)
The materials needed are as follows:
- Thin wall 1/2″ PVC pipe – 8′ 3″ in length
- 2 Pipe clamps
- Screw Driver for the pipe clamp
- 60″ Nylon cord
- Hack saw
- RGB Light Strip – Holidaycoro item 700
We cut the RGB Strip in half. We only used 25 of the 50 segments for this length arch.
If you gently bend the pipe you can then use the pipe clamps to fasten the 60″ cord to the bottom to create the arch. Once you have the arch looking like you want, feed the light strip in from one end.
For testing of the Leaping Arches, we are using the build in test patterns included with the AlphaPix controller. We will get into custom light programming in a later post.
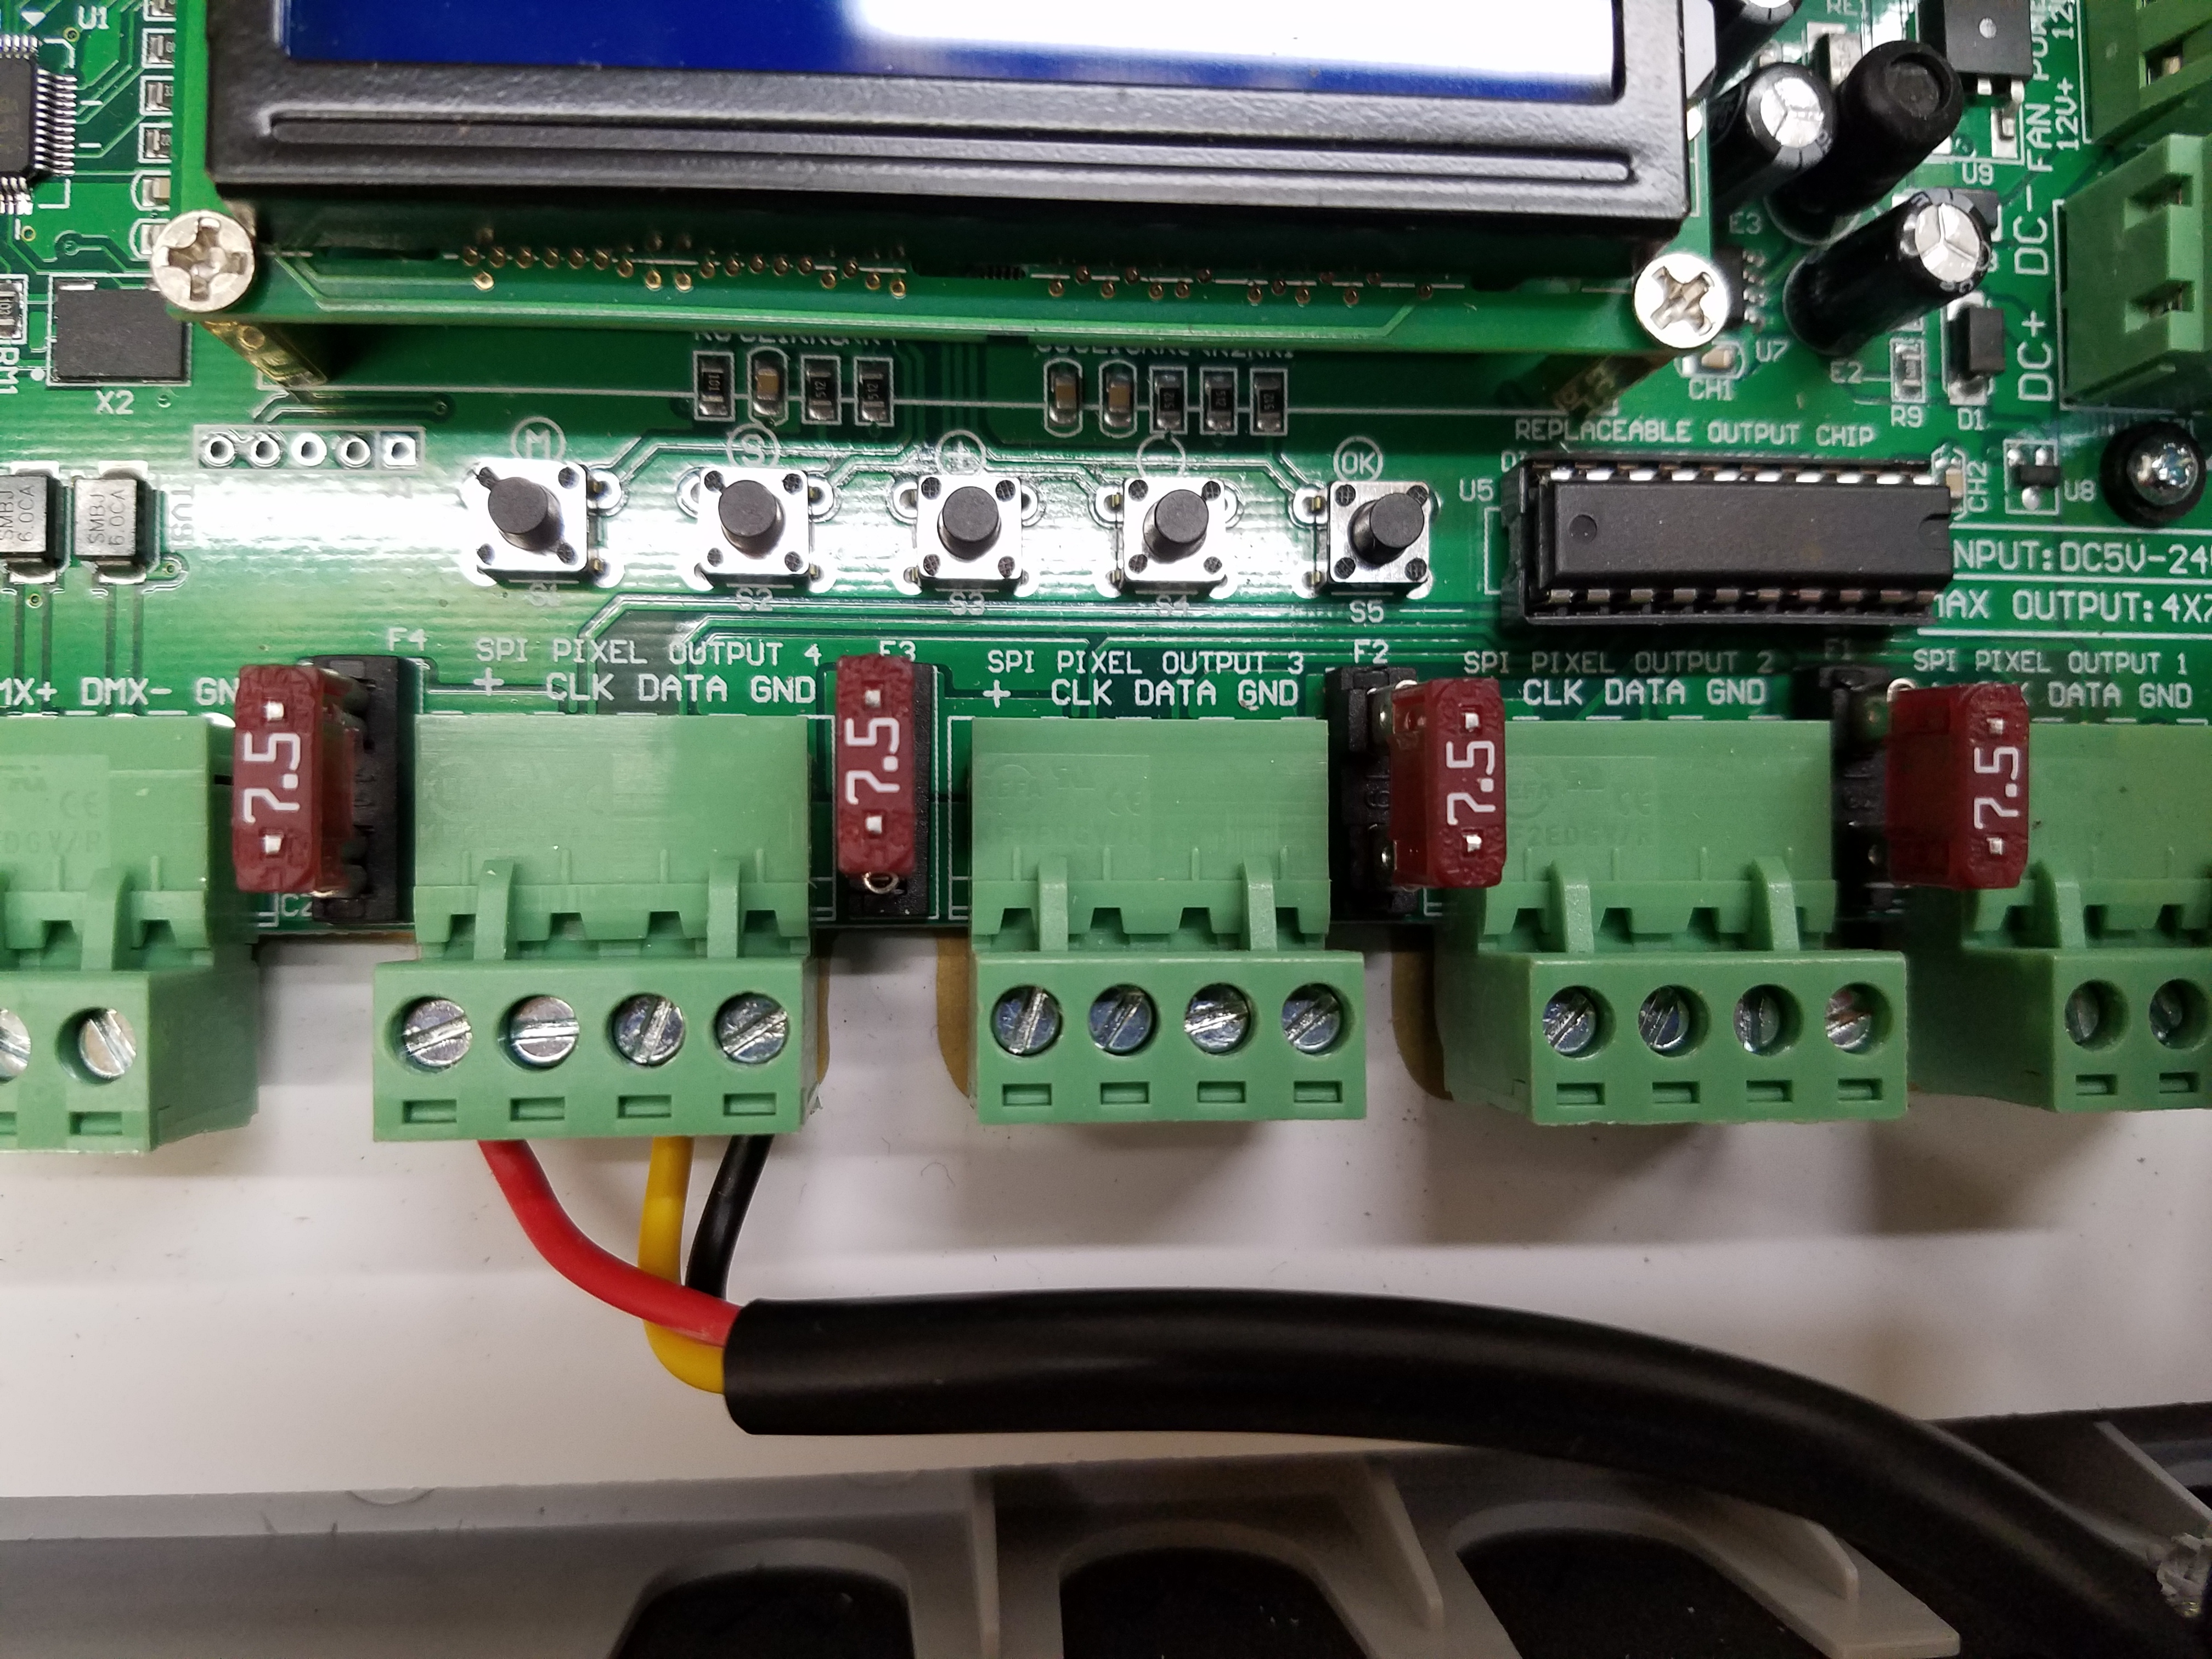
AlphaPix Controller
Step 1 – We hook up the Screw together adapter to the Arch and then to the controller. Note – It is important to pay attention to the way you are hooking up the wires.
For example, I hook up the red wire to the Positive, the Yellow wire to the data and the Black wire to the ground on the AlphaPix controller.
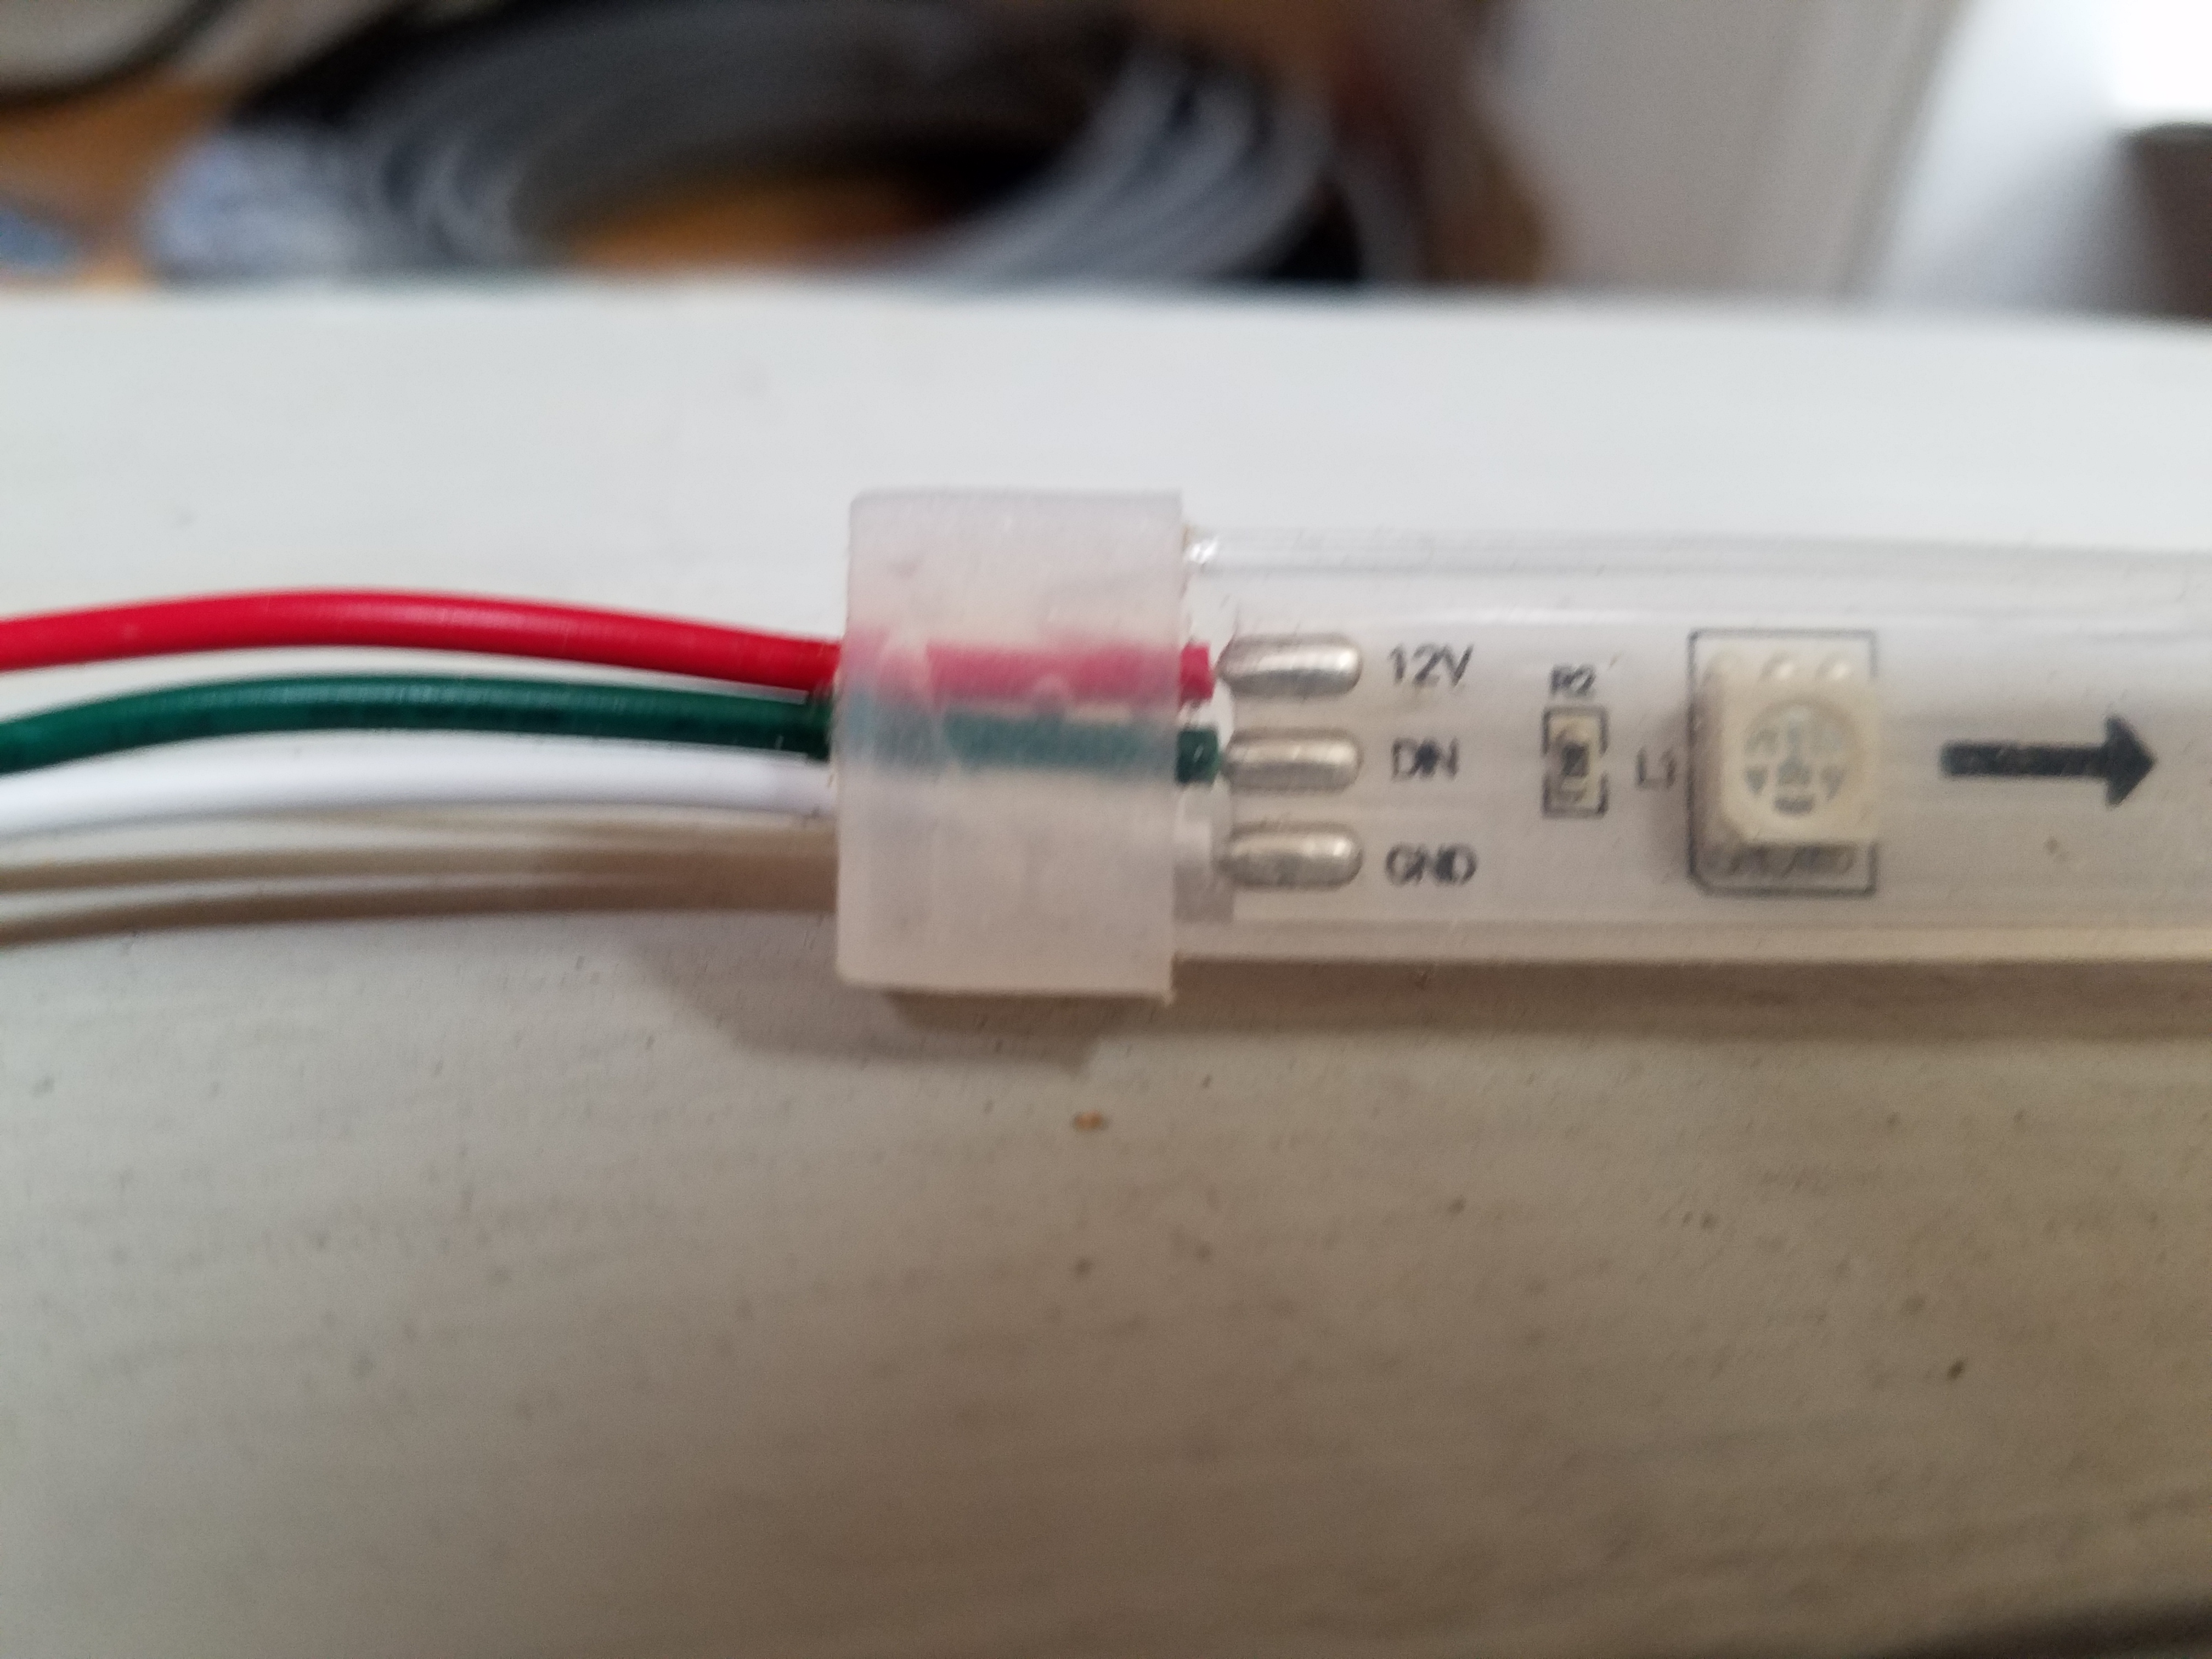
RGB Strip Data Direction
On the RGB strip, I make sure to connect the same color wires to
each of the connection points, Positive, Data and Ground. Also make sure you are connecting to the correct end of the strip. The data flows in one direction and will be shown on the strip itself, in this case, by an arrow pointing in the direction of data flow.
Now we are ready to test! Plug up the AlphaPix and after a few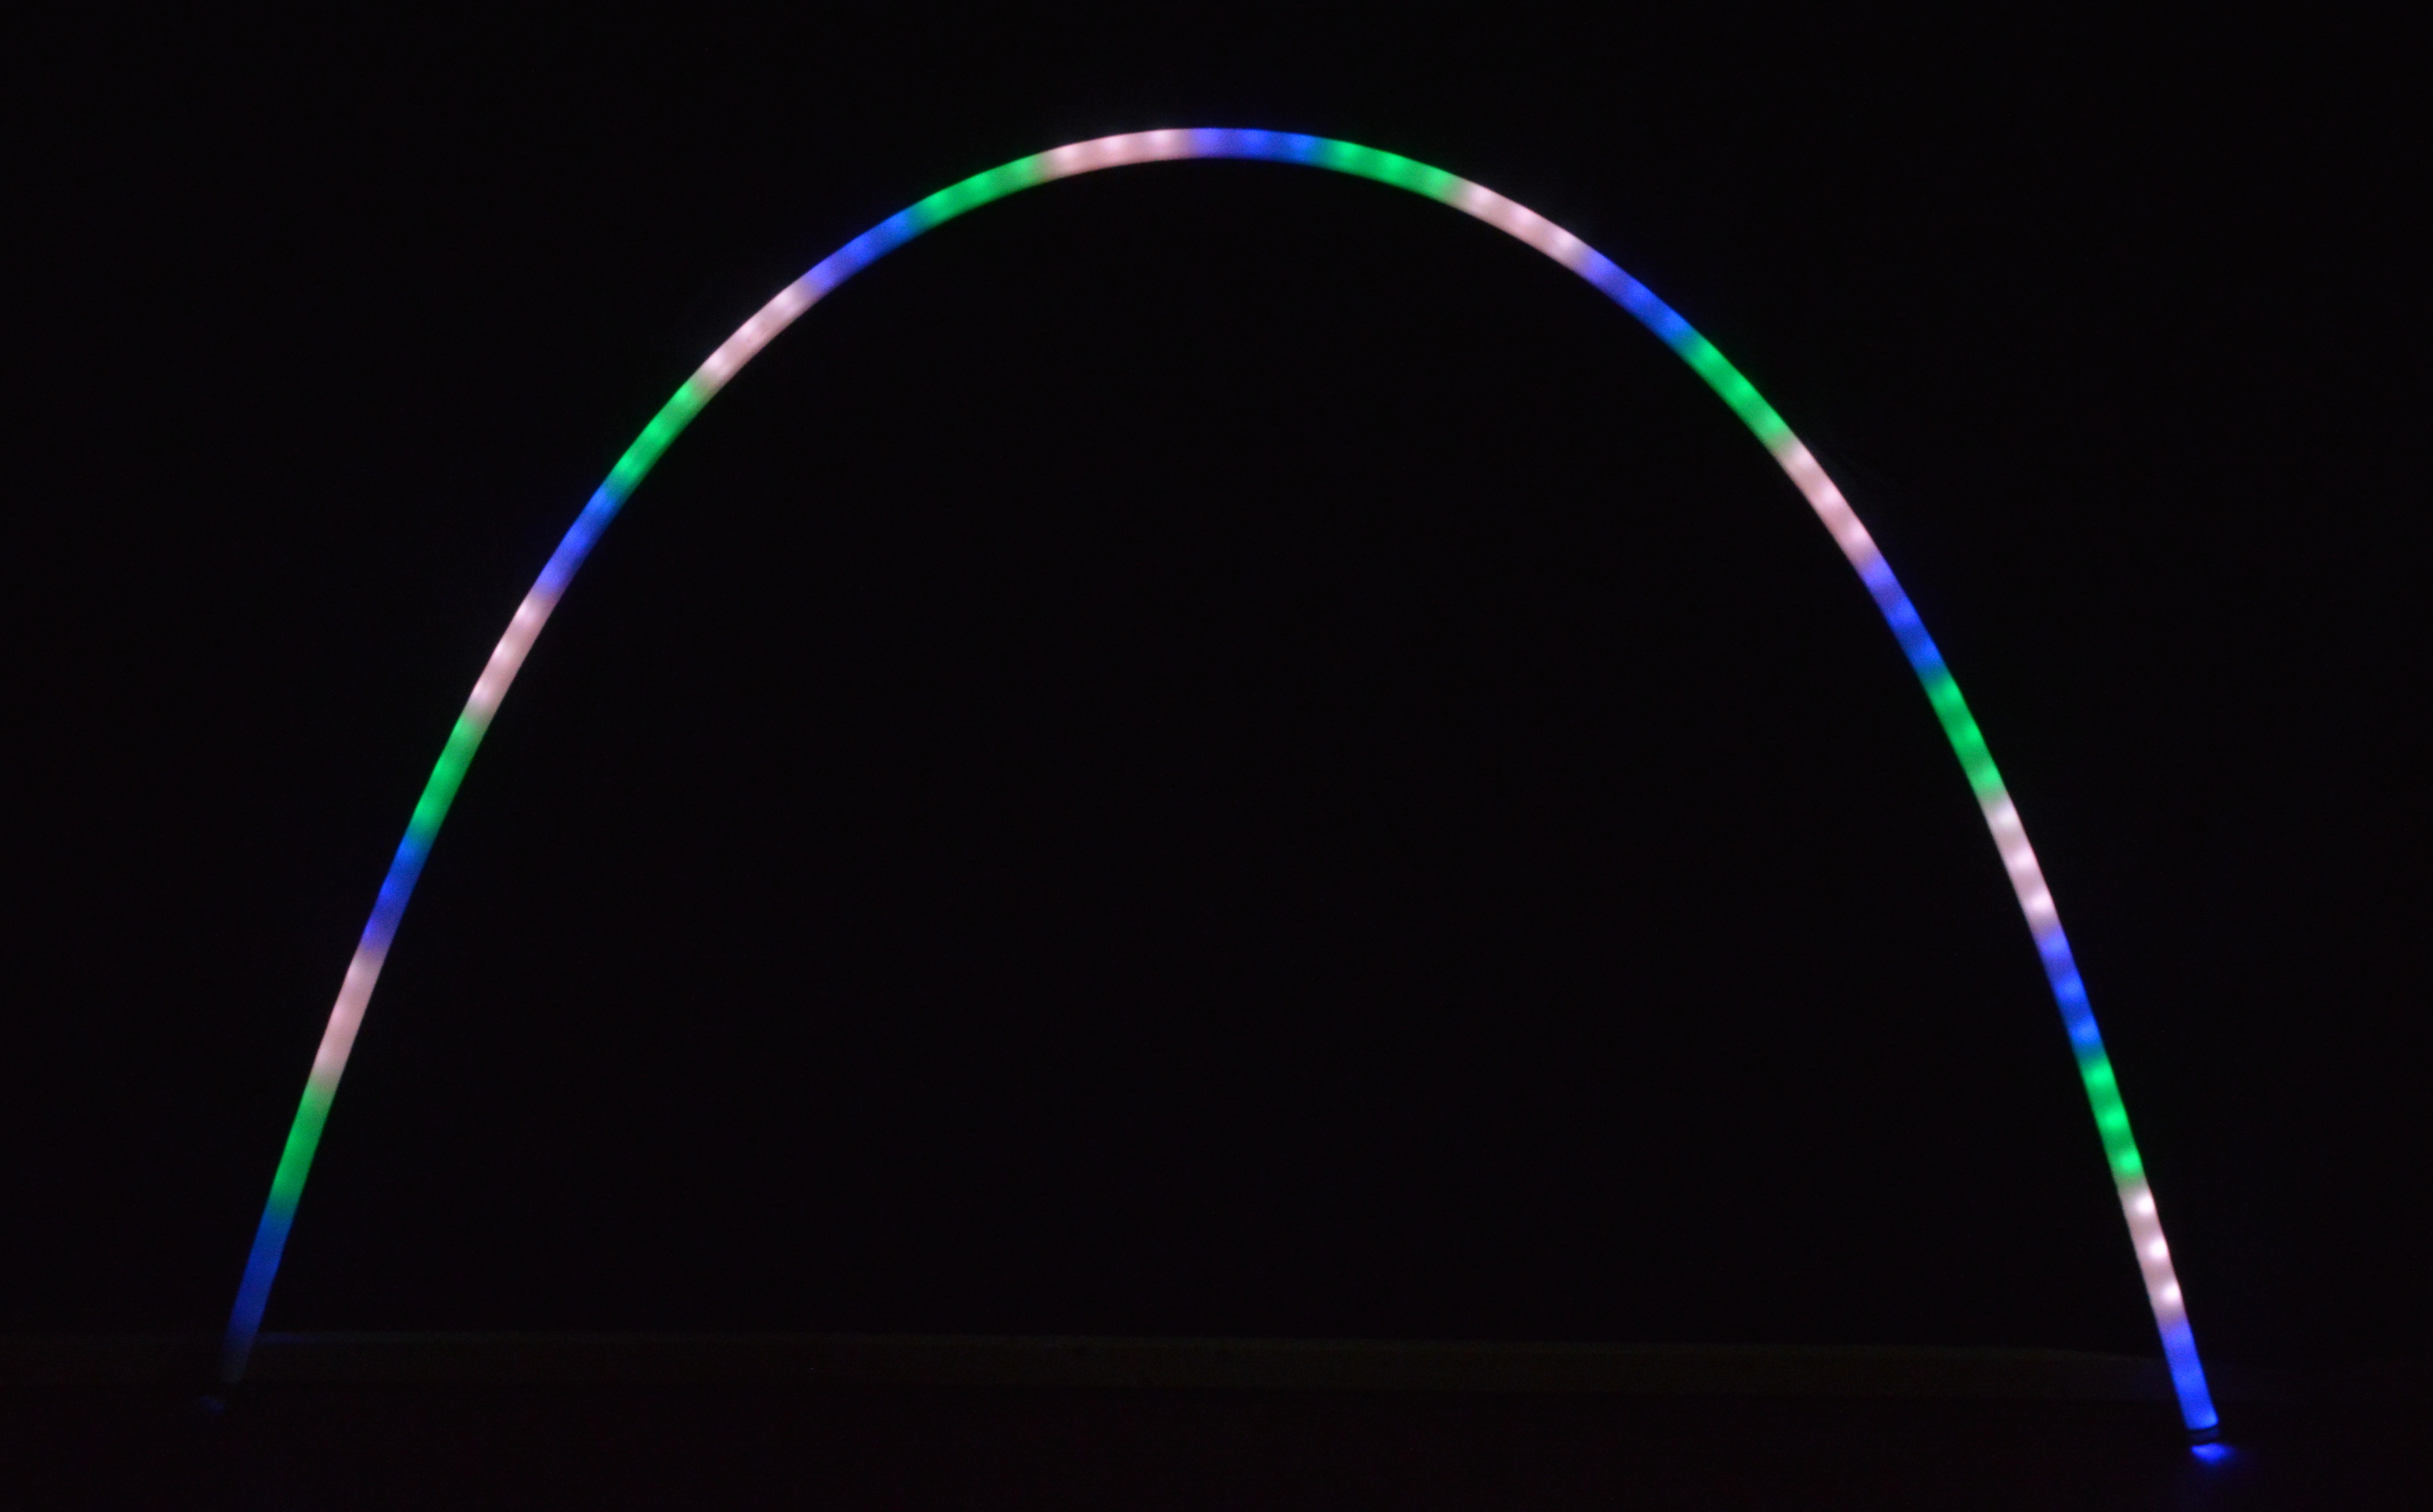 seconds, you can press and hold the M button and the controller will go into test mode. Use the + and – keys to cycle through the test patterns offered on the controller.
Leave a Reply