Here we will discuss our rebuilt 22 X 46 Pixel Horizontal Matrix Display.
The materials needed for the project are as follows:
- 4′ X 8′ Matrix net
- 22 strings of RGB Nodes
- AlphaPix 16 channel controller
- CG – 1500 Water Proof Enclosure
- 350Watt, 12 Volt Power Supply
- Mounting Kit
- 2 X 4 Treated wood
We build a wooden frame out of the 2 X 4 studs and then fastened the Matrix net material to it using industrial staples.
We trimmed 4 lights off of each of the 22 light strings and then began pressing the nodes into the mess. We started in the upper right hand corner of the matrix with the data direction on the string going to the left. Once row one was complete, we then started in the left hand corner for row two and pressed the nodes into place.
This created a zig-zag pattern for the data path as you work down the matrix. Each two rows completed 1 DMK universe.
So Universe 1 = row 1 and 2
Universe 2 = row 3 and 4
Universe 3 = row 5 and 6
etc.
We then soldered the two rows for each universe together to create one continuous string of 92 lights (46 * 2). The end result was 11 universes, each with 92 lights for a total of 1012 RGB nodes.
We attached one of the enclosures with the AlphaPix 16 controller and a power supply on the upper right hand corner of the frame and the other enclosure with a power supply only on the upper left hand corner. We connected the left hand power supply to the power feed for channels 9 – 16 and the right hand power supply was connected to channels 1 – 8.
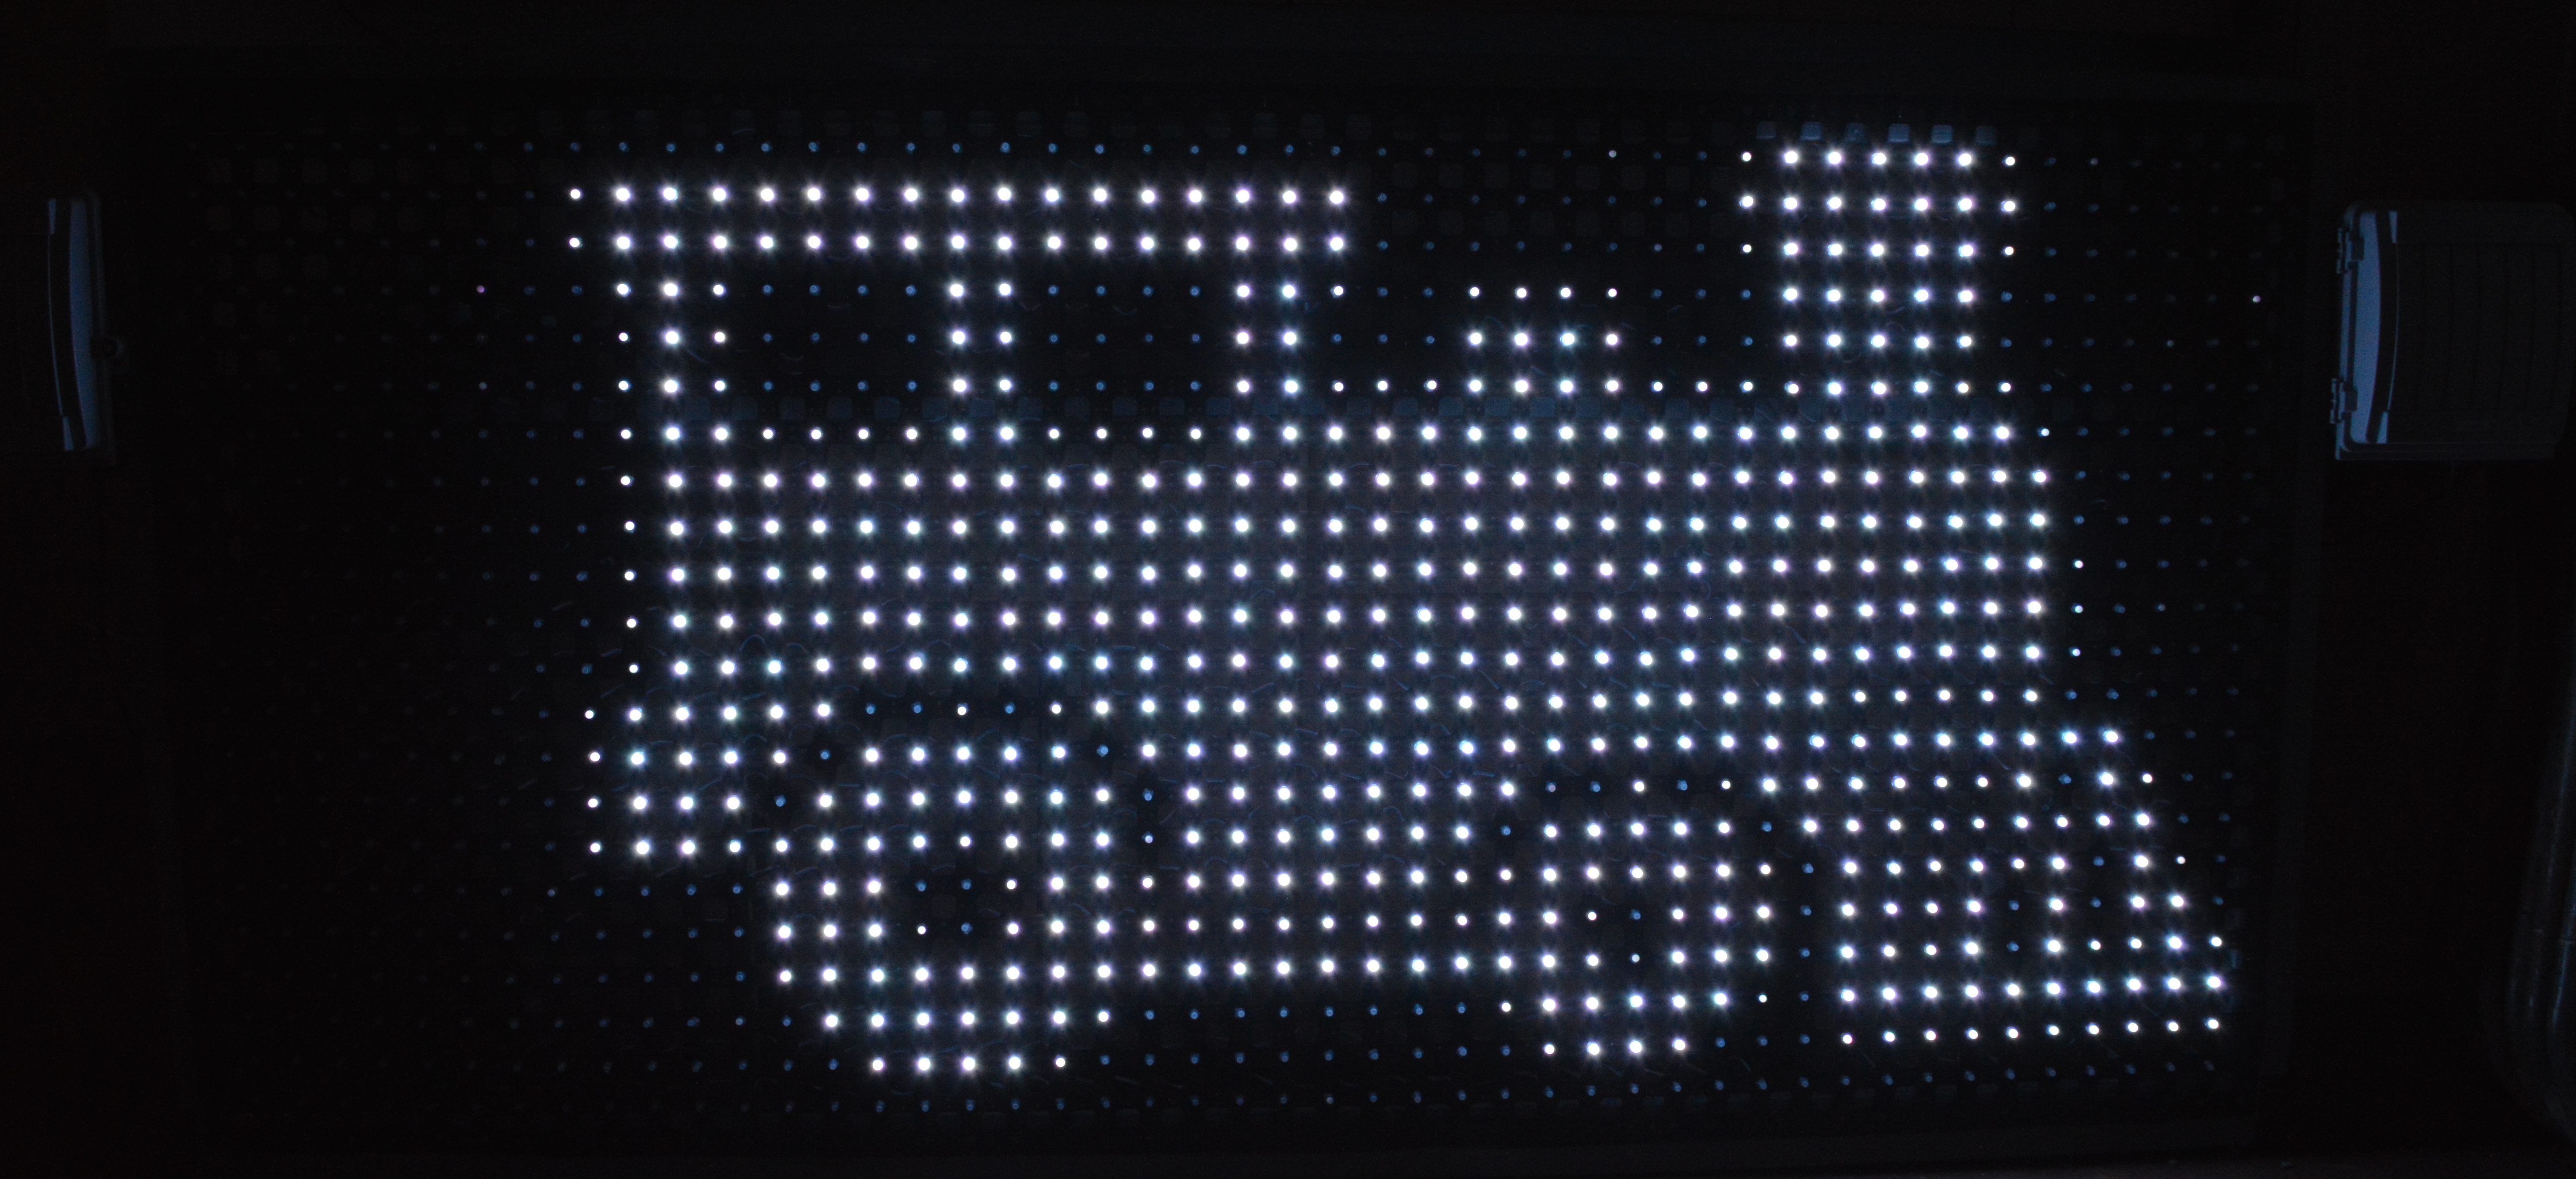
Christmas Train on our Horizontal Matrix
The programming for the test video seen above was done in Xlights
.
Leave a Reply