Lighted Window Frame
Easy Window Frame Lighting
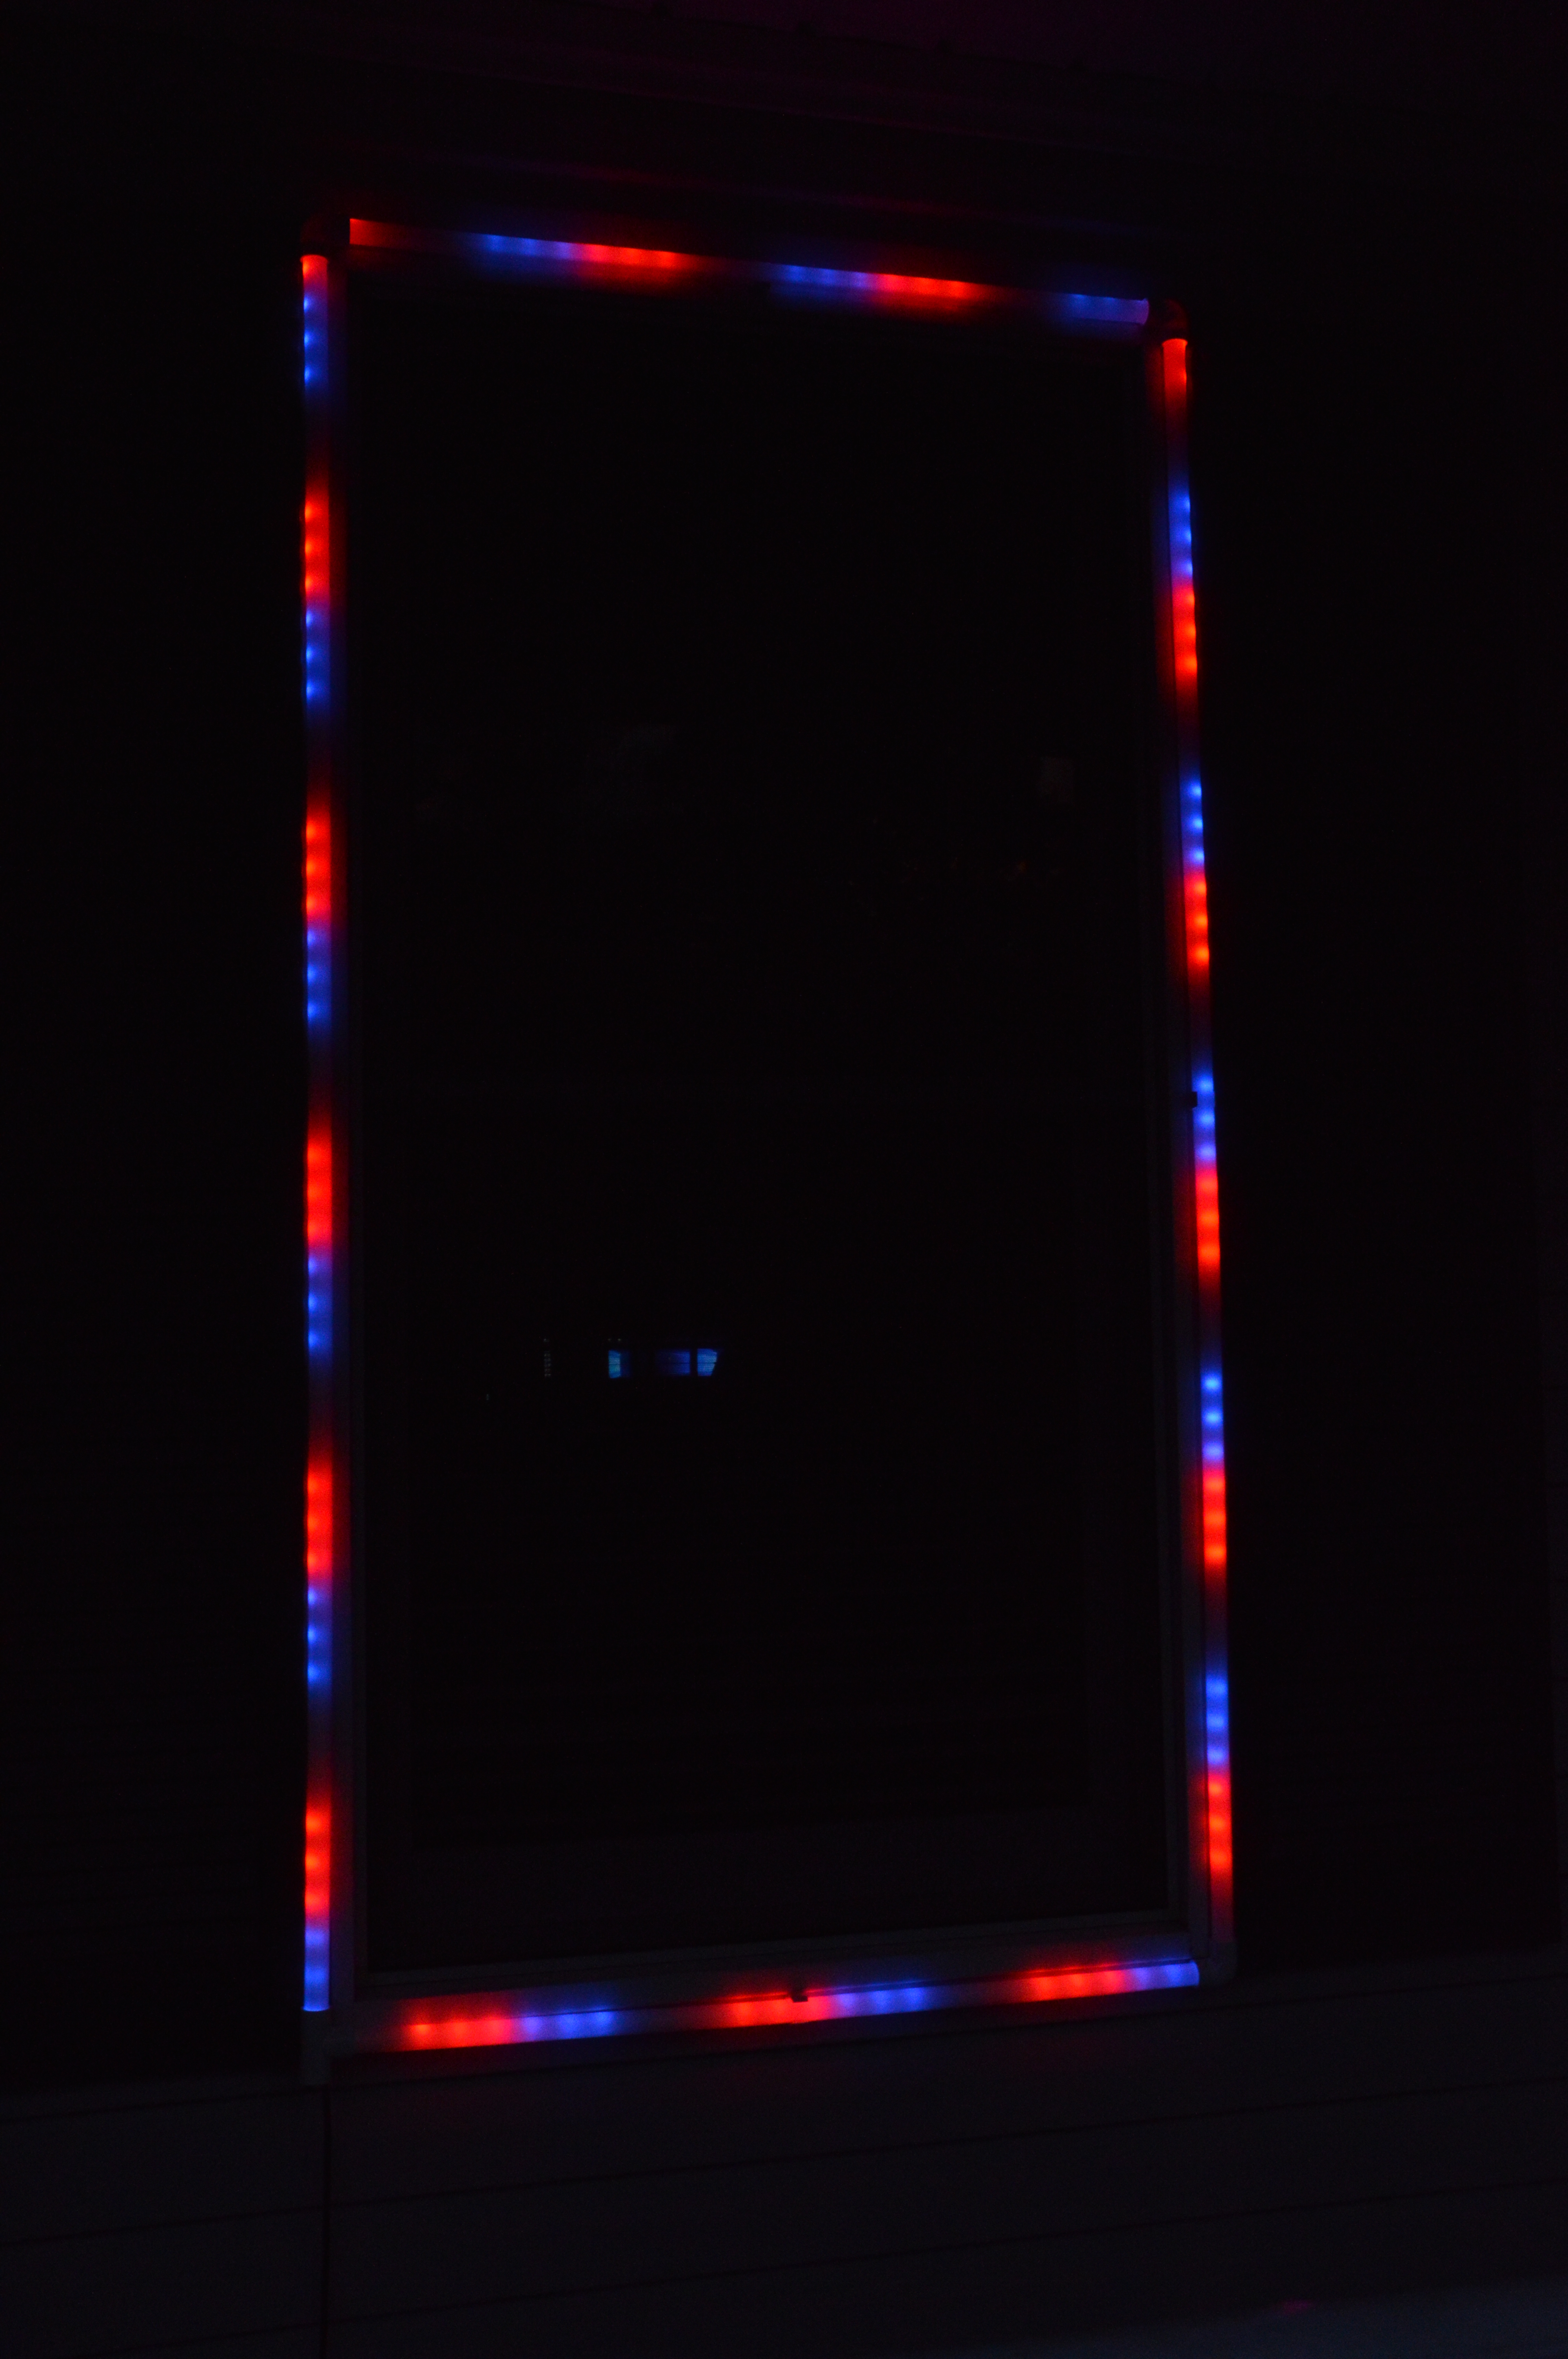
Today we are going to explore how we are outlining our windows with color-changing RGB lights for the season.
The materials you will need:
– Hangers (4) (from HolidayCoro)
– Screws (4) to attach hangers (included in purchase of hangers)
– Tape Measure
– Phillips screwdriver
– Thin-walled PVC ½ inch (length depends on your window)
– 90 Degree elbows (3)
– T Coupling (1)
– Hacksaw
– Spool of RGB lights, part # 700 from HolidayCoro
First thing is to mount the hanger, then do the measurement from the inside of the hanger to the inside of the opposite hanger. I mount the hangers at the mid-point of each dimension of the window, not at the corners.
Next, cut the PVC pipe to the lengths measured above. You need to decide at which corner of the frame you want for the opening of the T-Connector, as this is the beginning of your display element.
In our example, we have the T-Connector in the upper right hand corner, as can be seen in the picture below.
Start at the T-Connector and feed the RGB ribbon light through the pipe and assemble the frame corner connectors as you go. If you have the whole frame assembled, there is no way to shove the lights around the corners.
Once you have the lights threaded through the frame and the frame is assembled, you are ready to snap the frame 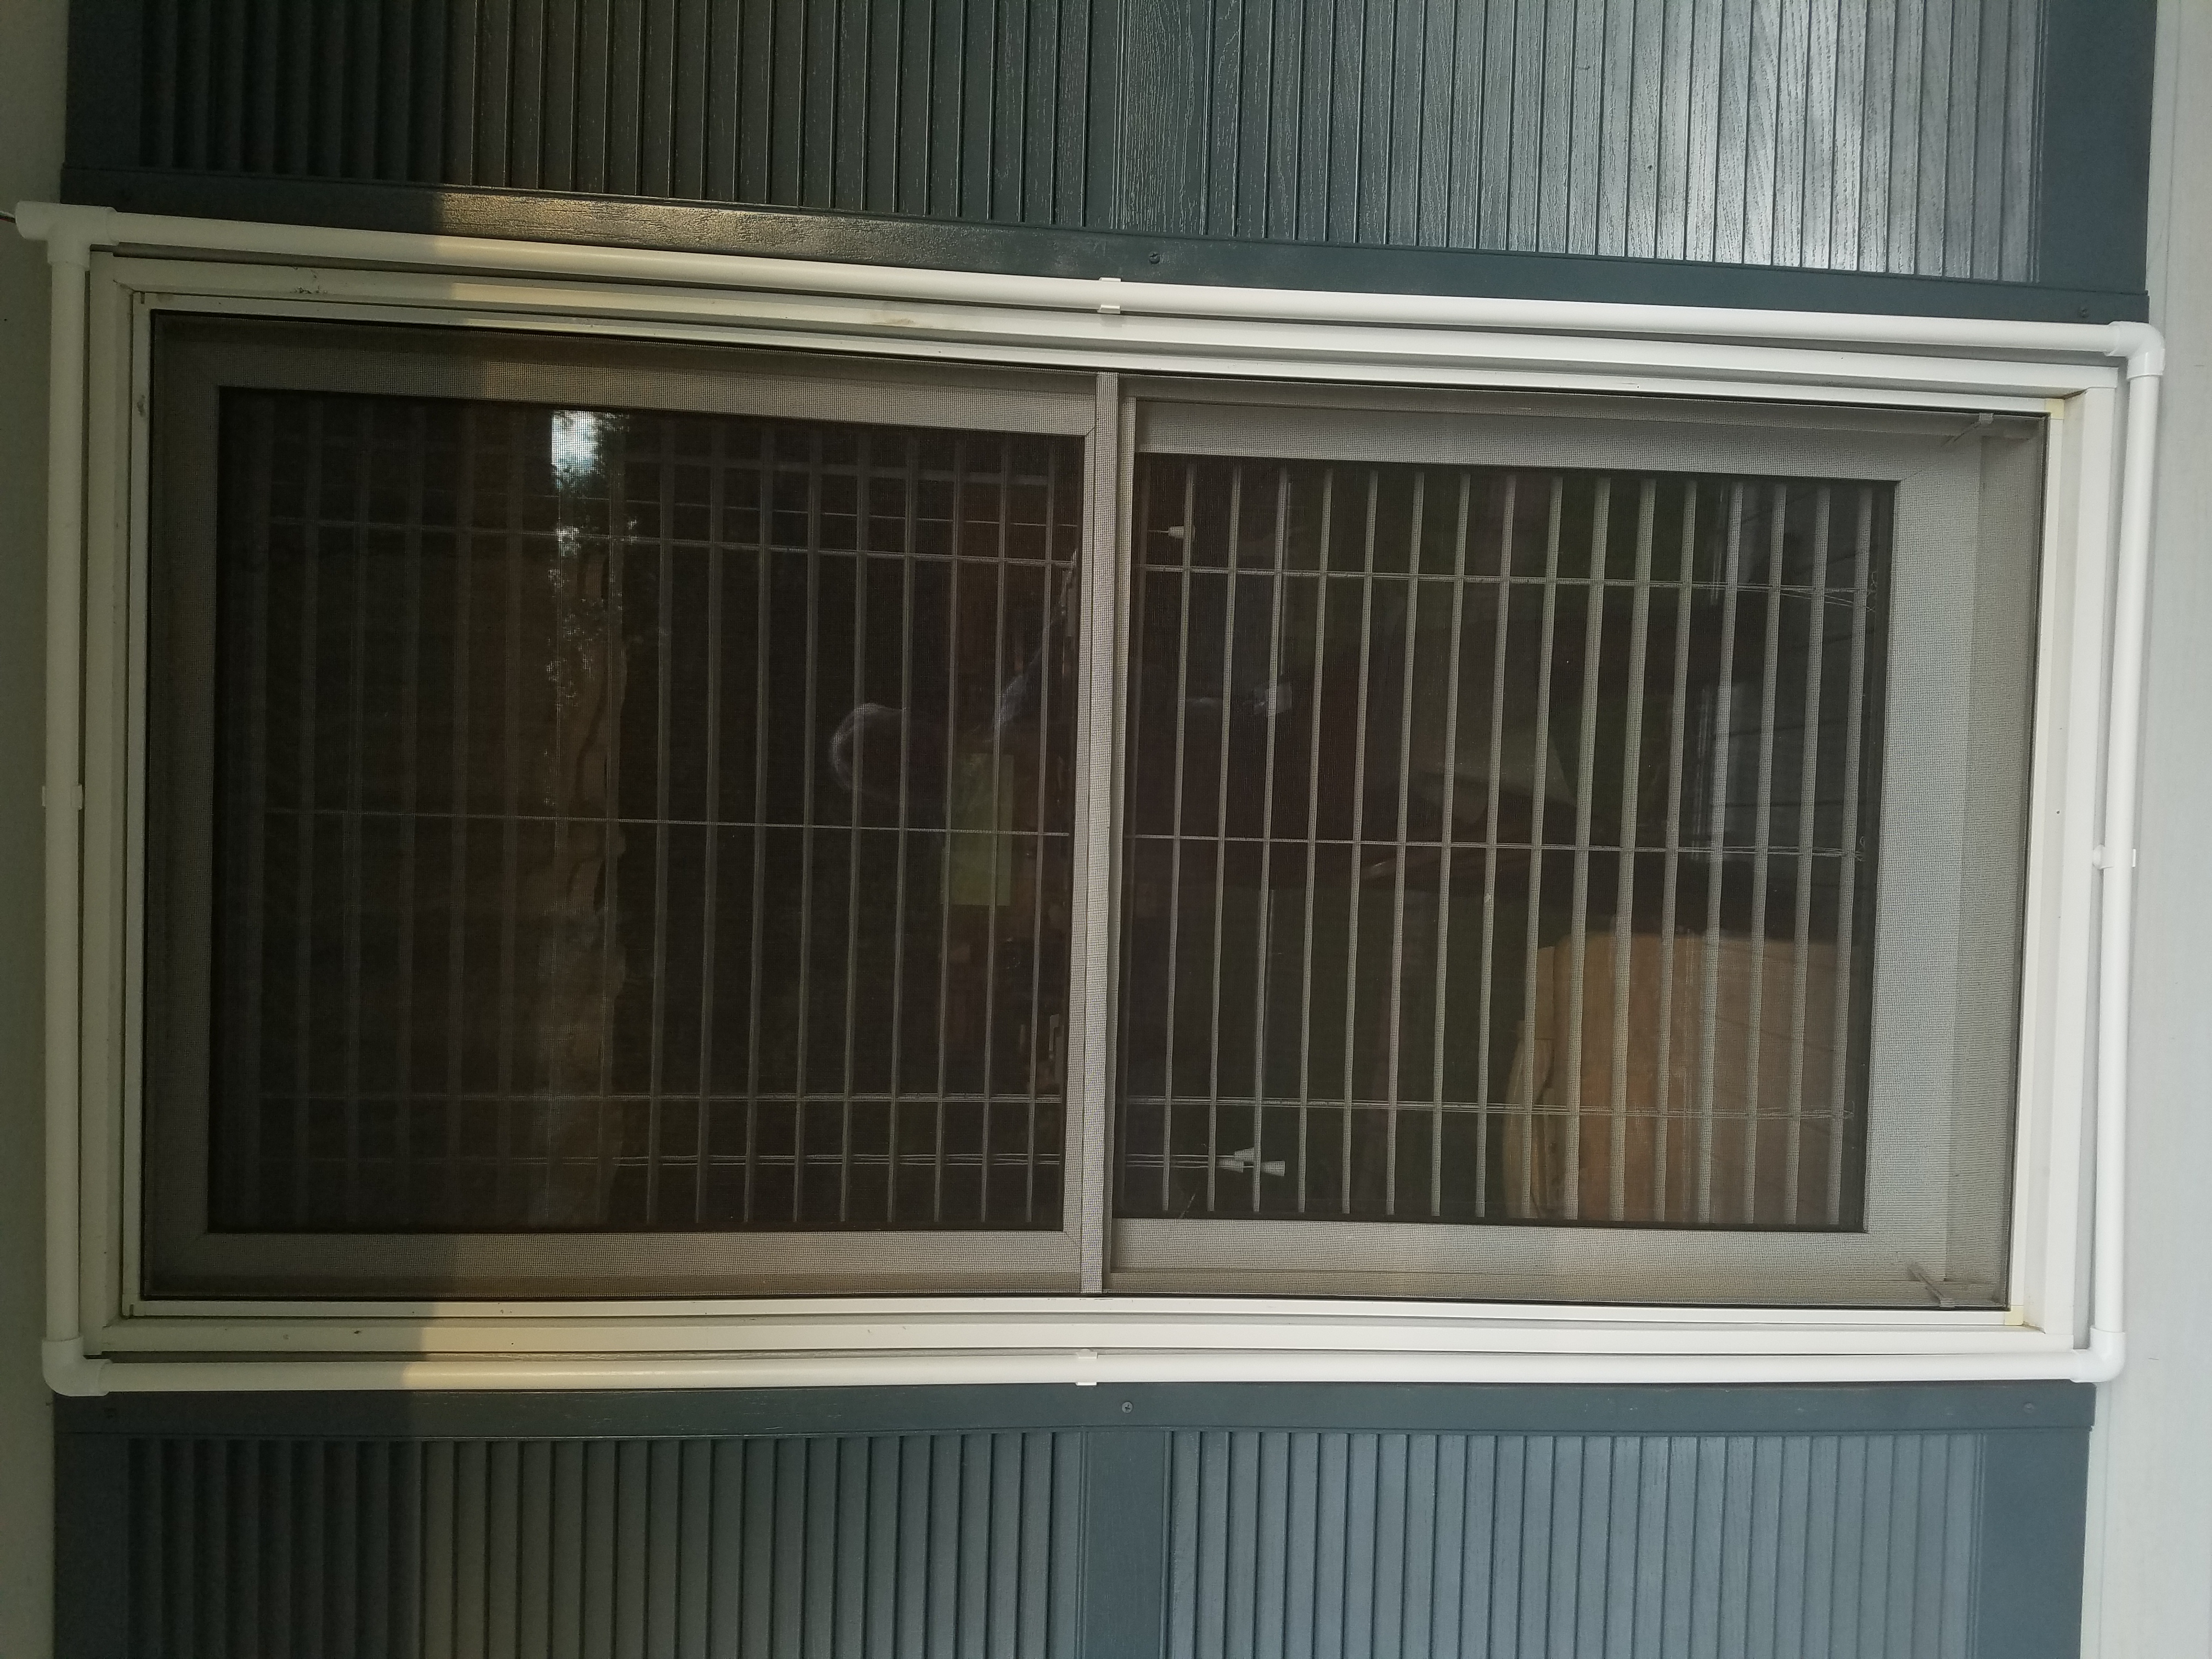 into the hanger clips.
In our next blog post, we will talk about the programming required to make our new window frames come to life.
Leave a Reply